
How to Make Parts from Fiberglass Blanket Insulation?
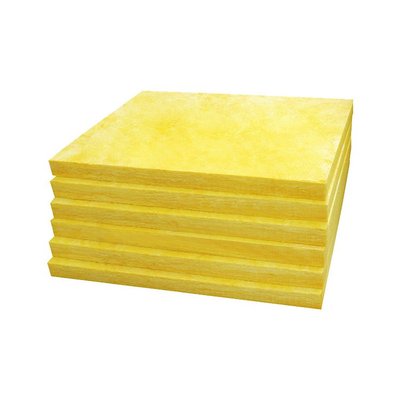
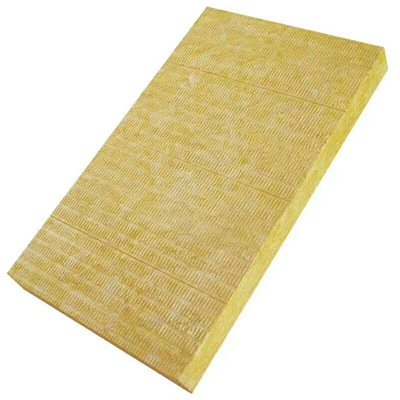
Poor insulation can lower thermal efficiency, cause heat loss, and raise installation costs. The good news is that fiberglass blanket insulation is easy to shape when the right methods are used. Using the right tools helps. Measure carefully, make clean cuts, and fit everything tightly. This way, you can create custom insulation parts. The resulting parts keep their shape and perform well over time.
The process itself is not complicated, but the details matter. Straight cuts, uniform thickness, and tight joints can matter more than expensive materials. In my view, installation quality should be treated as part of the insulation system itself, not as a final finishing step. Industry installation guidance likewise emphasizes careful fitting and inspection because workmanship directly affects the finished result. I focus on practical installation methods. They provide reliable results on actual construction projects.
Which tools are recommended for working with fiberglass blanket insulation?
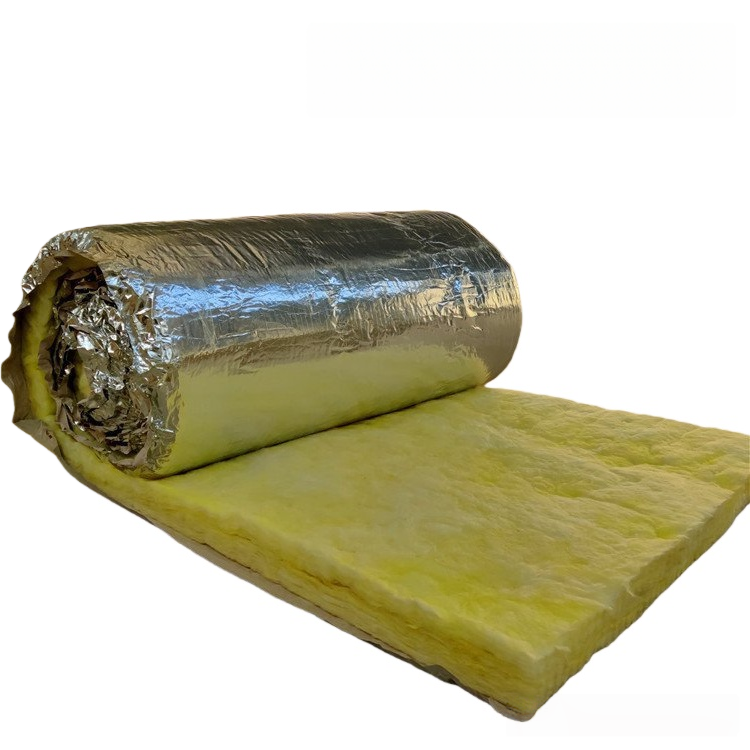
Using the right tools is the first step to making clean and accurate insulation parts. Sharp cutting tools, precise measuring gear, and the right protective equipment boost efficiency. They also prevent damage to fiberglass fibers during processing.
The right tools make cutting cleaner and easier
Before starting any project, I get all my tools ready. A tidy workspace makes the installation go more smoothly. A sharp insulation knife is best for cutting thick fiberglass blankets. It makes straight, clean edges and won’t tear the fibers. A utility knife also works well, but only when the blade remains sharp and is replaced regularly. For thinner blankets or small adjustments, use heavy-duty scissors. They give you better control and make trimming easier.
Accurate measuring tools are just as important as cutting tools. A tape measure and a marker help mark every dimension on the material before cutting. A long straightedge keeps the cuts straight and aligned. Spending a little extra time to mark the material can save time later. It helps cut down on mistakes and waste.
Personal protective equipment should never be overlooked. Fiberglass fibers can become airborne when cut. To stay safe, wear gloves, long sleeves, eye protection, and a dust mask or respirator. This approach is consistent with OSHA guidance, which identifies skin, eye, and respiratory irritation as key concerns when handling fiberglass insulation [2]. In my view, basic protection is a small preparation step that can make cutting and installation much more controlled. This gear helps protect against airborne fibers. It is also important to match the cutting tool to the blanket density. Lower-density insulation is easy to cut. Higher-density products need stronger, sharper blades. These sharper blades help prevent the fibers from pulling apart. If the fibers break, the insulation’s thermal performance can drop.
Recommended Tools and Their Uses
|
Category |
Tool |
Best Used For |
|
Cutting Tools |
Insulation knife |
Thick blankets; produces straight, clean edges without tearing fibers |
|
Utility knife |
General cutting; effective only with a sharp, regularly replaced blade |
|
|
Heavy-duty scissors |
Thinner blankets and small adjustments; better control for trimming |
|
|
Measuring Tools |
Tape measure & marker |
Marking every dimension accurately before cutting |
|
Straightedge |
Keeping cuts straight and aligned in a single smooth pass |
|
|
Protective Equipment |
Gloves, long sleeves, eye protection, dust mask/respirator |
Protecting against airborne fiberglass fibers during cutting |
How do I shape fiberglass blanket insulation for custom parts?
Custom insulation parts often have curved surfaces, corners, and unique shapes. These features can't be covered by one flat piece. The most effective approach is to work with the material's natural flexibility instead of forcing it into shape.
Build complex shapes by layering instead of stretching
Fiberglass blanket insulation bends easily when compressed gently. But don’t stretch it too much. Stretching separates the fibers and lowers insulation performance. For simple curves, light compression helps the material fit the surface naturally. It also keeps a consistent thickness. More complex shapes require a different approach.
Instead of relying on one thick blanket, I build complicated forms by stacking several thinner layers together. Each layer fits the surface more closely. This creates a smoother finish and keeps the insulation thickness consistent throughout the part. In my view, this layered approach is especially useful when the geometry is irregular because it gives the installer more control over fit and thickness. This method makes installation easier. Individual pieces are simpler to position and adjust before fastening.
Breaking a large custom part into smaller sections improves accuracy even further. I measure the finished dimensions. Then, I divide the shape into smaller pieces. I mark each section before cutting. This keeps the assembly organized and reduces the chance of fitting errors later.
Corners need special care. When insulation is packed into tight spaces, it can compress. This compression weakens insulation performance. Cutting separate pieces that fit together keeps the installation neat. This approach also maintains the insulation thickness. If bonding is needed, choose a high-temperature adhesive for the expected temperatures. However, mechanical fasteners should be the main way to secure the finished assembly.
Step-by-step guide to cutting and assembling fiberglass blanket insulation parts?
Careful preparation before installation prevents many problems later. Accurate measurements, clean cuts, and proper fastening help insulation parts last for years. Also, a thorough final inspection ensures reliable performance.
A simple workflow that protects long-term performance
The installation starts with checking the fiberglass blanket. You need to make sure it’s undamaged and meets the project’s density requirements. Selecting the right product before installation ensures effective insulation in the finished installation.
Before marking the blanket, carefully measure each installation area after checking the material. Double-checking key measurements before making the first cut helps avoid costly corrections later. Place the blanket on a stable, flat surface. Use a straightedge to make one smooth cut. This way, you avoid several rough passes that create uneven edges.
Before permanently securing any piece, I always perform a dry fit. This simple step reveals small alignment problems while they are still easy to correct. In my view, dry fitting is one of the most efficient quality-control steps because it catches installation errors before they become difficult to repair. Proper installation guidance also stresses inspection and correct fitting rather than relying on appearance alone. In final assembly, mechanical fasteners offer strong long-term support. They resist movement from vibration and temperature changes. Adhesive can still be used when needed, but it should reinforce the installation rather than replace proper fastening.
The final inspection is one of the most valuable parts of the process. Check every joint, compressed area, and loose edge carefully. Small gaps can lower insulation efficiency, and building-performance guidance shows that installation details can influence thermal performance and moisture durability. From a practical standpoint, I would rather spend a few extra minutes correcting a gap than accept a visually neat installation with hidden weak points. Instead of stretching nearby material to cover an opening, properly sized insulation pieces should be used to fill the space. When all parts fit well and have even thickness, the insulation system performs better over time.
Conclusion
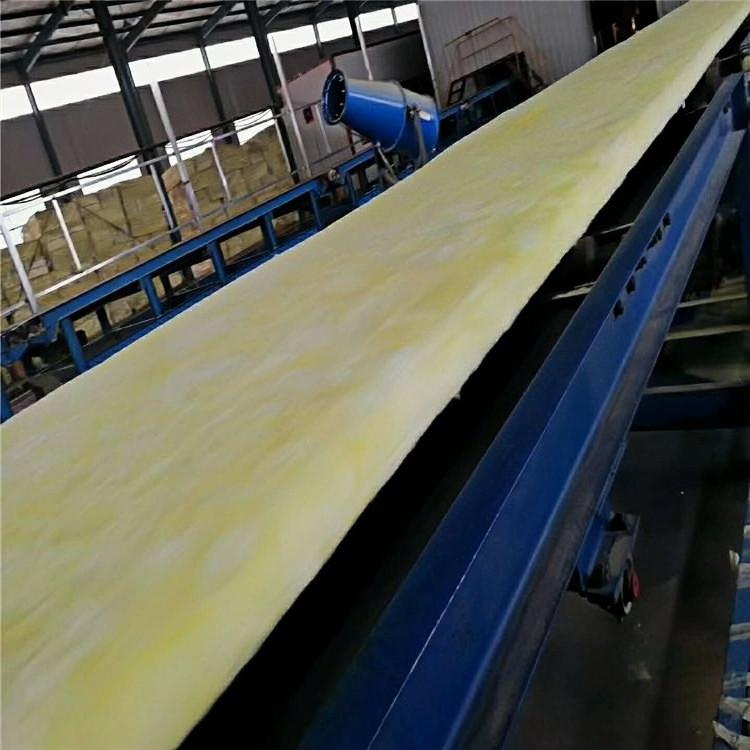
Custom fiberglass blanket insulation parts are easy to build when every step is done carefully. Clean cutting, shaping in layers, secure fastening, and gap-free installation all help maintain strong thermal performance and improve project quality.
References
[1] Insulation Institute, Insulation: A Guide to Proper Installation.
[2] Occupational Safety and Health Administration (OSHA), Green Job Hazards – Weather Insulating/Sealing.
[3] Insulation Institute, Grade 1 Insulation Certification Training: Proper Installation of Fiber Glass and Mineral Wool Insulation.
[4] U.S. Department of Energy, Building America Best Practices Series: Energy Renovations—Insulation: A Guide for Contractors to Share With Homeowners.
[5] Occupational Safety and Health Administration (OSHA), Synthetic Mineral Fibers – Health Effects and Exposure Guidance.