
Phenolic Insulated Steel Pipe: Where do Connection Problems Begin?
Your insulation looks perfect on the datasheet. Then the joints fail on site. I have seen this too often.
Connection problems begin at joints, fittings, and pipe supports. These points break the insulation layer and the vapour barrier. Poor planning and rushed sealing make the gaps bigger. I check these points first on every phenolic insulated steel pipe project.
I will walk through four questions. Each one comes from real site work. Read on, because the last answer can save you a costly callback.
Why do Pipe Connections Need Special Attention in Phenolic Insulated Steel Pipe Systems?
A great pipe section can still fail. The weak point is the joint, not the foam.
Connections need attention because they interrupt the insulation and the foil barrier. Straight runs are made in a factory. Joints are made by hand on site. One small gap lets heat escape or moisture enter, and the damage spreads along the pipe.
Factory work versus site work
Material choice is only the starting point. Phenolic foam has very low thermal conductivity. One supplier lists a lambda value as low as 0.025 W/m·K under EN 14314. That number applies to a clean, continuous section. It does not apply to a joint with a gap.
What a small gap does
On cold lines, the foil facing is the vapour barrier. A guide on phenolic pipe insulation says that any breach in the foil facing, however small, causes a barrier failure. I agree with this from my own work. I once reviewed a chilled line where the straight sections were fine. The wet insulation sat at the elbows and valves. At Xiaolong, we trace most complaints back to these points, not to the foam. Heating lines forgive more. Chilled lines do not. So I treat every joint as its own product with its own quality check. I also ask installers one simple question: who seals this joint, and who signs it off? If nobody can answer, the joint will be a problem later.
Which Connection Areas are Most Likely to be Overlooked?
Everyone checks the long straight runs. Few people check the pipe supports.
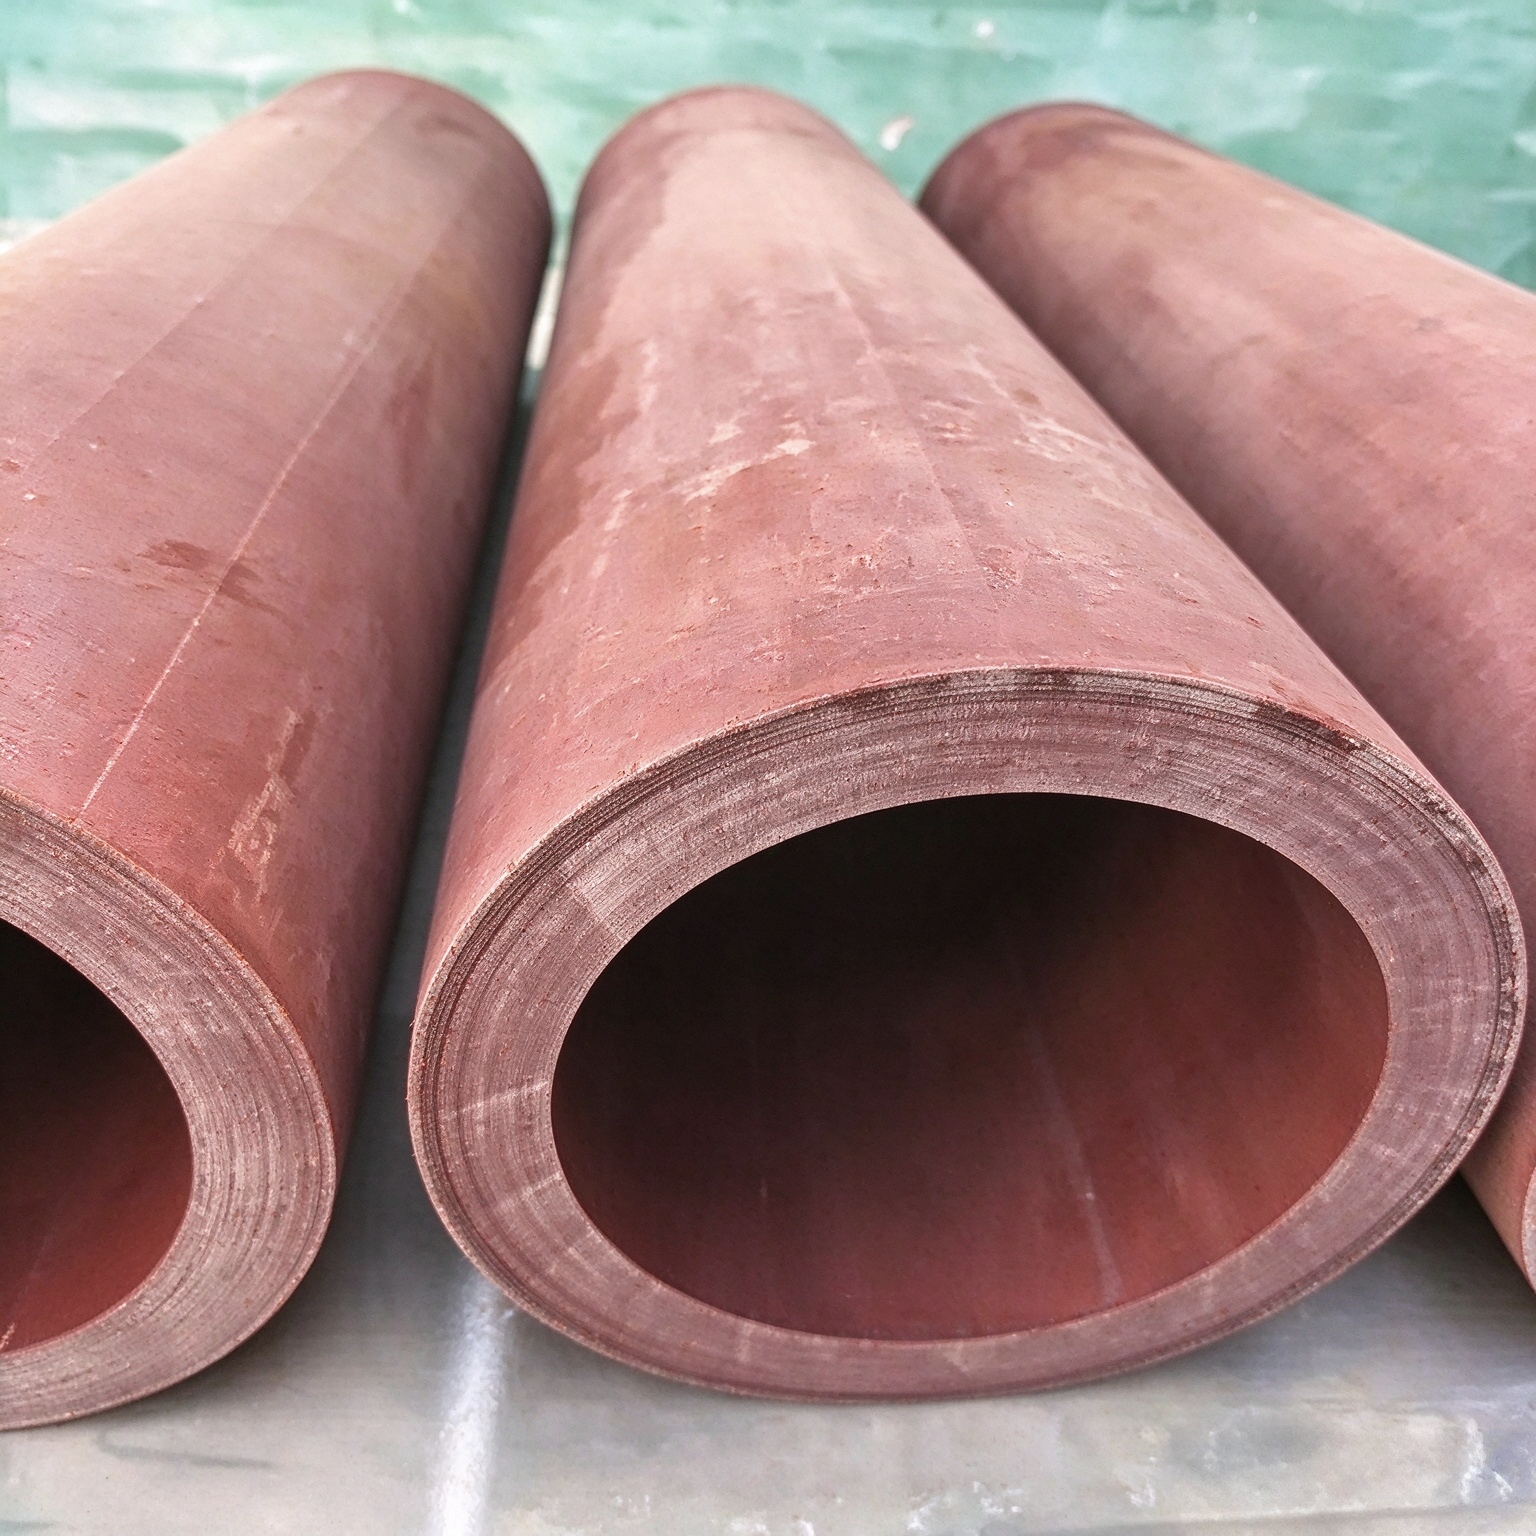
Pipe supports, valves, flanges, and wall penetrations are the most overlooked areas. They have odd shapes, and crews often cut and patch them late in the job. Each one needs a purpose-made solution, not a field patch.
Pipe supports
Supports come first on my list. A clamp that touches bare steel creates a cold bridge. A clamp that squeezes the foam can tear the foil. One manufacturer notes that a support with higher conductivity than the pipe insulation leaves the pipework under-insulated and wastes energy. Another range offers phenolic support blocks from 15 mm to 50 mm thick. I match the block thickness to the pipe insulation. This keeps the line continuous.
Fittings, valves, and penetrations
Bends, tees, and valves come next. Crews often mitre-cut foam on site. Pre-made fittings reduce cutting on site and improve accuracy. I like this approach for complex layouts. Penetrations come last. The insulation should run through the wall opening without a break. In my experience, crews stop the foam at the sleeve to save time. That one shortcut creates a condensation point. Phenolic foam is also rigid and brittle, so careless handling near fittings can crack it. I tell crews to protect the foil during every later trade visit, since a dropped tool at a valve can undo good work.
How Can Installation Planning Prevent Insulation Gaps and Coordination Issues?
Gaps rarely come from bad workers. They come from bad sequencing.
Plan the order of work before installation starts. Fix the supports first, finish pressure tests, then insulate. Agree who handles penetrations and fittings. Order pre-formed pieces early. This keeps the insulation continuous and avoids rework.
Set the sequence on paper
I confirm the support locations with the mechanical team first. Then I confirm the support type, so insulated blocks arrive with the pipe. Next, I confirm the pressure test date. Foam must not close over a joint that is still untested. I also list every fitting on the drawings and order pre-formed pieces ahead of time.
Coordinate with other trades
I check what else shares the ceiling space. Cable trays and ducts often block access to a joint. A crew then insulates around the obstacle and leaves a gap. I raise these clashes early. A vapour barrier guide advises you to stagger butt joints and prefer pre-formed 90° bends on critical work. For outdoor lines, I add a weatherproof jacket to the plan. At Xiaolong, we share these planning notes with buyers before shipping. Good planning costs little. Rework costs a lot. I also keep one person in charge of insulation continuity on site. This person walks the route each week and flags open ends before other trades cover them. That habit has saved me more time than any material upgrade.
What Should Contractors Check before Accepting the Finished Piping System?
The system looks finished. The ceiling is about to close. This is your last chance.
Inspect every joint, fitting, support, and penetration before concealment. Look for torn foil, open seams, unbonded tape, and compressed foam. Confirm that each section matches the pipe diameter. Photograph and record every repair.
Acceptance checklist
I walk the line with a simple checklist. The table shows what I look at and why.
| Area | What I Check | Why It Matters |
|---|---|---|
| Longitudinal seams | Tape runs the full length and sits flat | Open seams let moisture reach the pipe |
| Butt joints | Tape overlaps at least 50 mm on each section | Short overlaps peel over time |
| Pipe supports | Matching thickness, intact foil, no crushed foam | Prevents cold bridges and foil damage |
| Valves and flanges | Purpose-made covers, fully sealed | Field patches fail first |
| Penetrations | Insulation runs through the opening | Stops condensation at the sleeve |
Keep a record
The 50 mm overlap and the joint inspection come from a phenolic insulation guide. I add a second step. I photograph each repair and log it. The same barrier guide calls the vapour barrier the most frequently compromised element of pipe insulation. Early repair matters. A torn foil takes minutes to fix today. It takes a ceiling removal later. Records also help a contractor defend the work in a dispute. I sign off each zone only after the photos match the checklist. If a joint cannot be reached later, I do not accept it without proof.
Conclusion
Connection problems start at joints, supports, fittings, and penetrations. Good planning and a strict final check keep insulation continuous. I trust the material first, then I verify every connection.
References
Kooltherm Pipe Insulation – Insulation and Lagging
Phenolic Foam Pipe Insulation Guide – Pipelagging Knowledge Hub
Vapour Barriers for Pipe Insulation – Pipelagging Knowledge Hub
BetaPlus Phenolic Pipe Supports Technical Datasheet – GRM Insulation Solutions
Insulated Pipe Supports – Walraven
Making the Pipework Puzzle More Simple – RIBA Journal